
Two quilts to share.
A bit of an ongoing issue with the first. Below is my first version of a kit I bought in Fredericksburg, Texas last fall. I put it together at my February retreat.

I just did not like the charm squares the kit provided...no bright Christmas colors.
So...I went online and found a layer cake of the line, Tinsel Town, on sale. I also found yardage for an added border at another online site.
Below is my second version...so much better...but I still didn't love it.

I swapped out eight of the darkest charms.
Much better.
Still don't love it. I think what I want is a thin inner border around the panel.
The pattern is one of those super simple, Villa Rosa postcards, Hillside Charm.

This project reminded me why I rarely buy kits...I usually make changes.
As you all know...sometimes you make quilts you don't love...it happens. My husband said, "Looks like a great quilt to gift." Yes! The perfect response...gotta love it!
Okay...the next quilt project is turning out soooo fun! I went down the Lori Holt rabbit hole...or maybe I should say into the chicken coop. She hosted a Sew Along last February for her Chicken Salad quilt pattern.

The pattern is free on the Riley Blake website but you need the template set to make the chickens which was just under $30.

Also free, is Lori's YouTube video on how to make the first chicken block. She has her own line of interfacing to create the ready-to-applique shapes. I bought that too. Lori is quite a genius at marketing her products!
After setting aside a box full of tropical-themed fabrics that had acquired a nice layer of dust...somehow I became compelled to actually start this project. I was able to prep all the fabrics for the blocks.

Yesterday I sewed two of the applique sets together with the interfacing.

The seam allowance on the shapes gets trimmed pretty tiny. You cut a slit in the interfacing which allows you to turn the piece right side out.
Here's the first block I put together. So far...love the ease of this technique.

As you can see...I'm not using Lori's fabrics but of course batiks. And since we have spent a lot of time on Kauai...which has a lot of roaming chickens, this quilt is going to be a homage to them.
I not sure how I will applique the pieces...hand stitch or use the sewing machine. Today, I'm leaning toward hand stitching. I still need to glue the shapes in place no matter which method I use. I am also thinking I will trim away some of the interfacing on the backside.
Now I'm going to spend a lot time and space on details for the Bucilla Patchwork Santa I've been tackling.

He is super cute but 3D kits are a major challenge. There are never enough instructions
The first paragraph says to add a dowel to the middle. No further details like the recommended width or length. I found a package of four dowels at Michaels that were 12-inches long and 1/2 or 3/8-inch in diameter.

A nice detail of the dowel in the middle of the body. I used quilt clips to hold the edges of the sides and bottom together while I stitched them.

The bottom of the body has a layer of cardboard between two pieces of felt.

The boots also have a layer of felt with a bit of fiberfill on the top side. It was very tricky to stitch the shoes with cardboard to the base with cardboard.

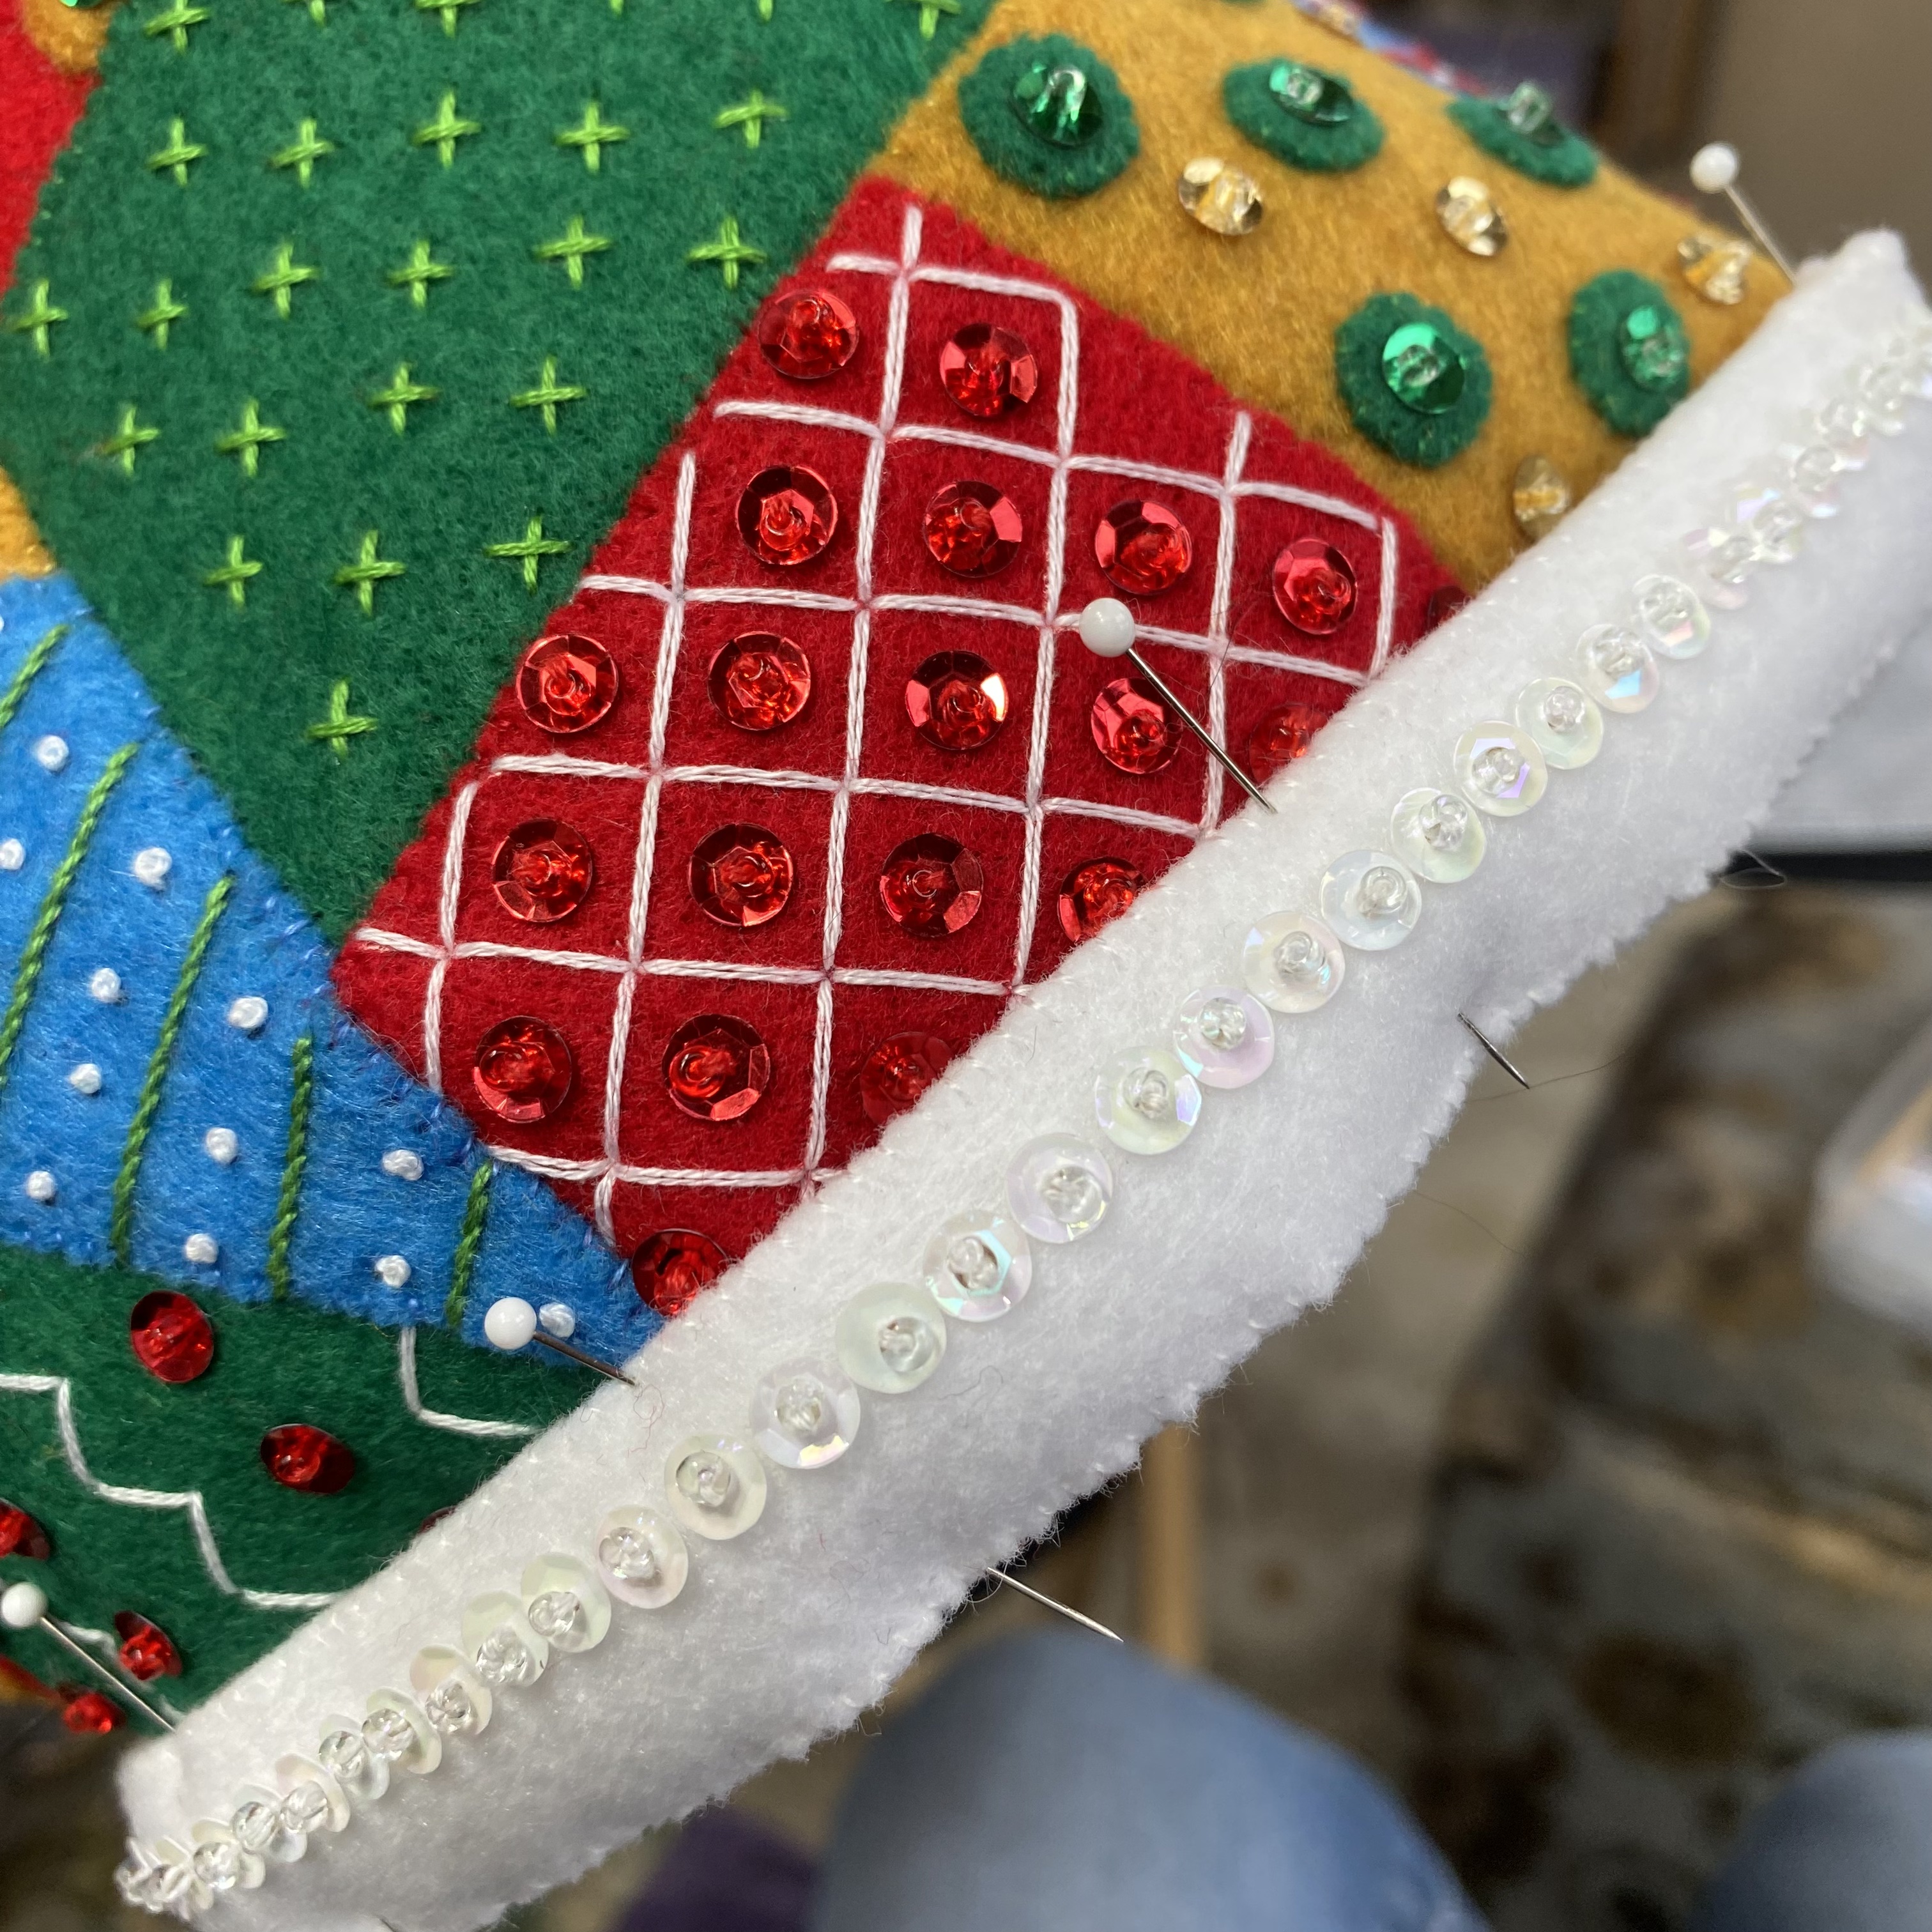
Then the quilting part of this project...making Santa's patchwork coat.


Once the coat was made, the instructions call for putting the coat onto the body form. It was a very snug fit with lots of pulling into place.

Then the instructions have you make the white trim separately and sew into place while the coat is on the body form. Nope...that sounded unnecessarily difficult! I pulled the coat off the form and also decided to adjust the front bottom edge so the curve of the white trim would look better...no patchwork sticking beyond the curve of the white trim. I simply unstitched about 1/2-inch of the front seam and folded the edge up and tacked in place on the backside.

Next the white trim got stitched in place...a little tricky to work around sharp pins...ouch!

Then the back piece of trim was added. Lots of easing in of the bottom coat edge so both sides of the trim could meet and be sewn together.
The coat them went nicely onto the body form. I added a little extra stuffing around the upper portion of the body between the red felt of the body and the coat. The instructions called for sewing the bottom edge of the coat to the body form. I never did that...I didn't find it necessary at all. The fit is so tight the coat is very secure.

I then made the arms...
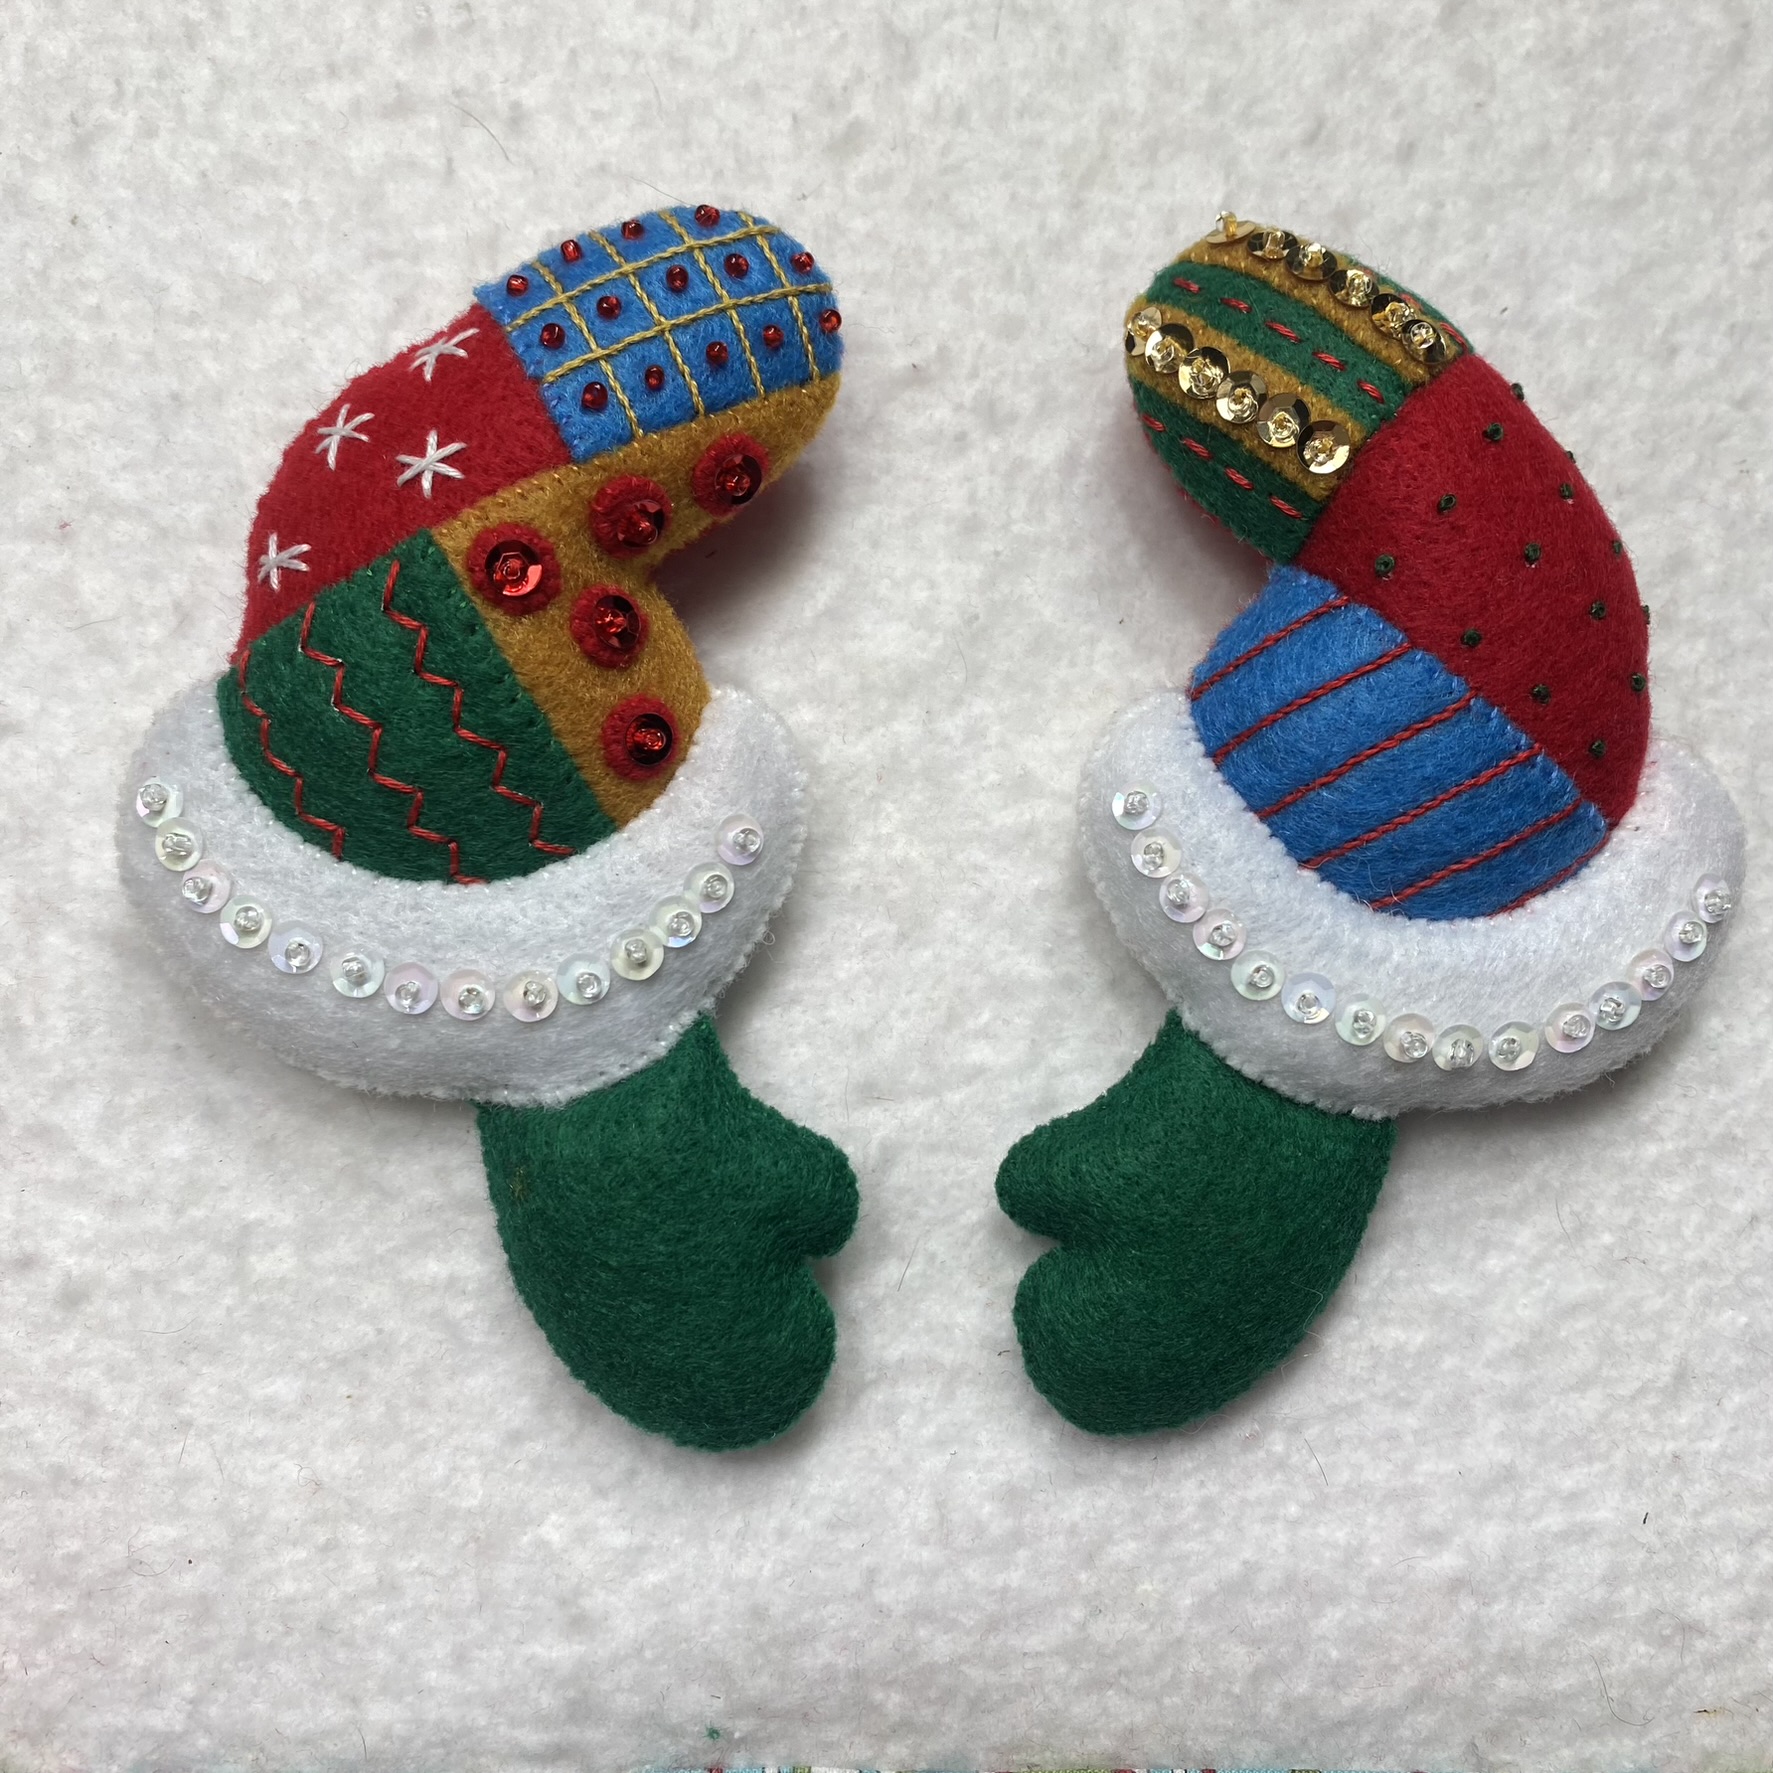
cape and started the hat.

I did not sew the arms or cape in place until I got the head in place. I was worried about placement of all the parts.

The head it attached to the body through a slit made in the felt on the backside of the head. This part went together very easily. The top of the 12-inch tall dowel fits to the top of Santa's head.

I sewed on the arms...pinned them in place first and checked how the cape would fit. The arms are about 2-inches from the top edge of the coat.

The cape is only tacked together at the center front.

Then Santa's beard was added. Before I sewed it in place I checked the location for the mustache.
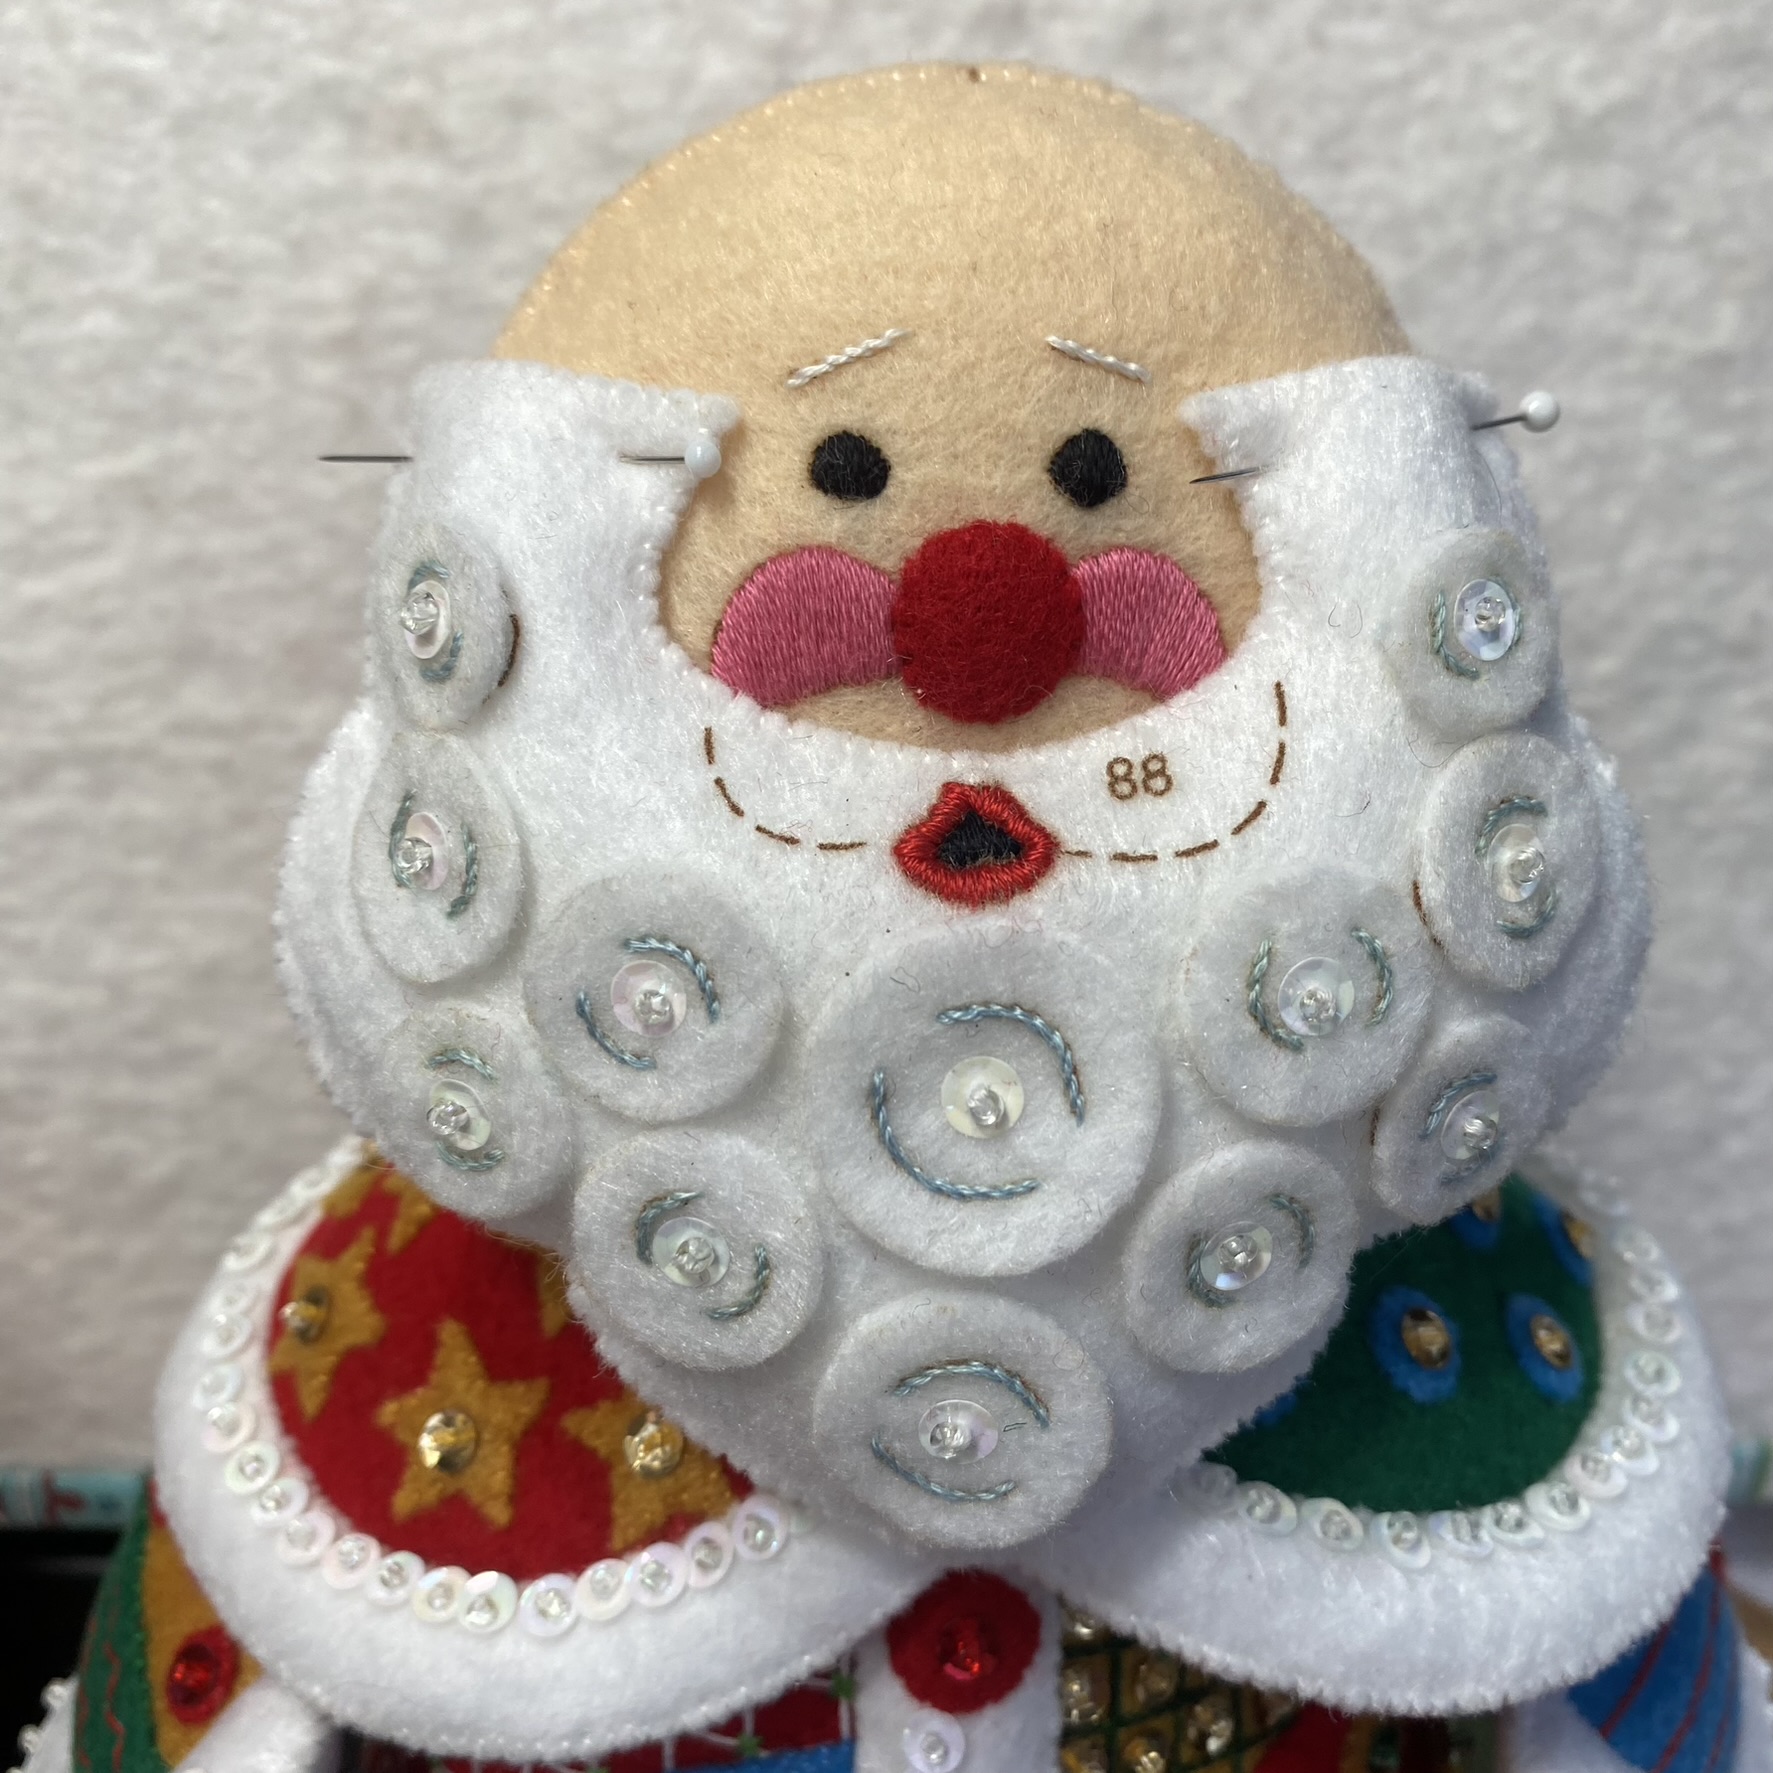
The mustache is only stitched to the head along the center of the mustache piece. I used a long doll needle to secure the stitching of the mustache on the backside of Santa's head.

The hat was another tricky area. The instructions were lacking. Again...you make the white trim separate and add the red hat portion. The trim is actually one piece that has a sculpted edge on the top and bottom that is folded and you insert the red hat. It was an extremely tight fit and thank goodness the felt was pretty thick and sturdy because it got stretched to make it all work.

I stitched the sides of Santa's beard and hair to make it look perfect. Lots of tugging to get the sides to meet.

More tugging to get the hat just right.

All that is left is to make the toys that go into Santa's bag which he will hold in his hands when done.

This kit is from 2010. I bought my kit on eBay a couple of years ago. These kits are difficult to find.
I added all the details to this post so I have a place to send people when I get questions about this kit. I've shared my progress on Facebook and Instagram. I love all the great comments I get. One gal mentioned I should give this Santa a prominent place for my Christmas decorations...definitely! He is going to stay out all year long in my studio.
Finally...I do love to end with a critter photo. Eli won the spotlight this morning. I wanted to get a shot of the fabric chaos so common when putting together an applique project. This pile is for the tropical chicken blocks. I rarely see him on my cutting table...his hair always betrays his visits...but this time he flaunted his perch in the middle of my mess. Notice the lint roller in the background...I have several sitting around my house.

He has been so nice and healthy this past year. He takes a daily dose of cyclosporine to control his previous mysterious allergic reactions. I also found a cat groomer whom we call our own Cat Whisperer. She is amazing! He visits her about four times a year and has not had any hairballs since seeing her. Maine Coons have a downy undercoat to keep them nice and warm but all the extra hair makes them prone to hairball issues. He gets bathed, blown dry, his nails trimmed and has lots of combing with a little bit of trimming in tricky areas. I've watched her work and Eli is a total sweetheart the whole time. So amazing. Of course he barely tolerates a quick combing from me. I'm so relieved the cone of shame is not getting any use.
3 comments:
that looks like a lot of work to make that Santa - so much detail;
and yes your husband is right on the wall hanging - someone will like it even if you do not.
Your cat is so pretty
I just love your 3D Santa! You have done a great job creating him. Just beautiful. Your panel quilt is pretty, too, especially your final version.
So much time and effort went into making your 3D Santa but he turned out gorgeous. I don't blame you for leaving him out all year round.
I will be curious to read how you like appliquéing with the interfacing. I have several appliqué projects that I have been putting off because I am not sure what method to use.
Nice that your cat Eli doesn't mind being groomed.
Post a Comment