Please Note: I finally found a guinea pig/neighbor to try on the men's mask and it just didn't fit well. It didn't rest high enough on the top of his nose and men really have a harder time adjusting to ties.
I realized my ponytail was extremely instrumental in holding my mask in place.
Like many with the skill of sewing...my studio has been hijacked by mask production.
I am not making the simple, three pleat mask that first responders have asked sewers in communities to provide...I'm not a great stack and wack sewer...I get hung up on making any and everything pretty. I understand the great need for this single use mask and applaud those who have been making dozens of them.
But I figured at some point all people would be asked to wear masks so I started researching options on the internet and this is what I have chosen to make for my family and friends.
I didn't have the capability to make a video so I did a lot of photos showing my construction methods.
I found three videos on YouTube that led me the choice I made.
Second is a video by a
Minnesota quilter with a lot of construction techniques that I adopted.
Last is a video by a quilter who generously offers a free mask pattern in for sizes through her store front,
Sew Much More. This is the pattern I used and I definitely recommend changing your default printing options to "Actual Size" instead of "Fit to Page Size." Yes...I made that mistake on my prototype.
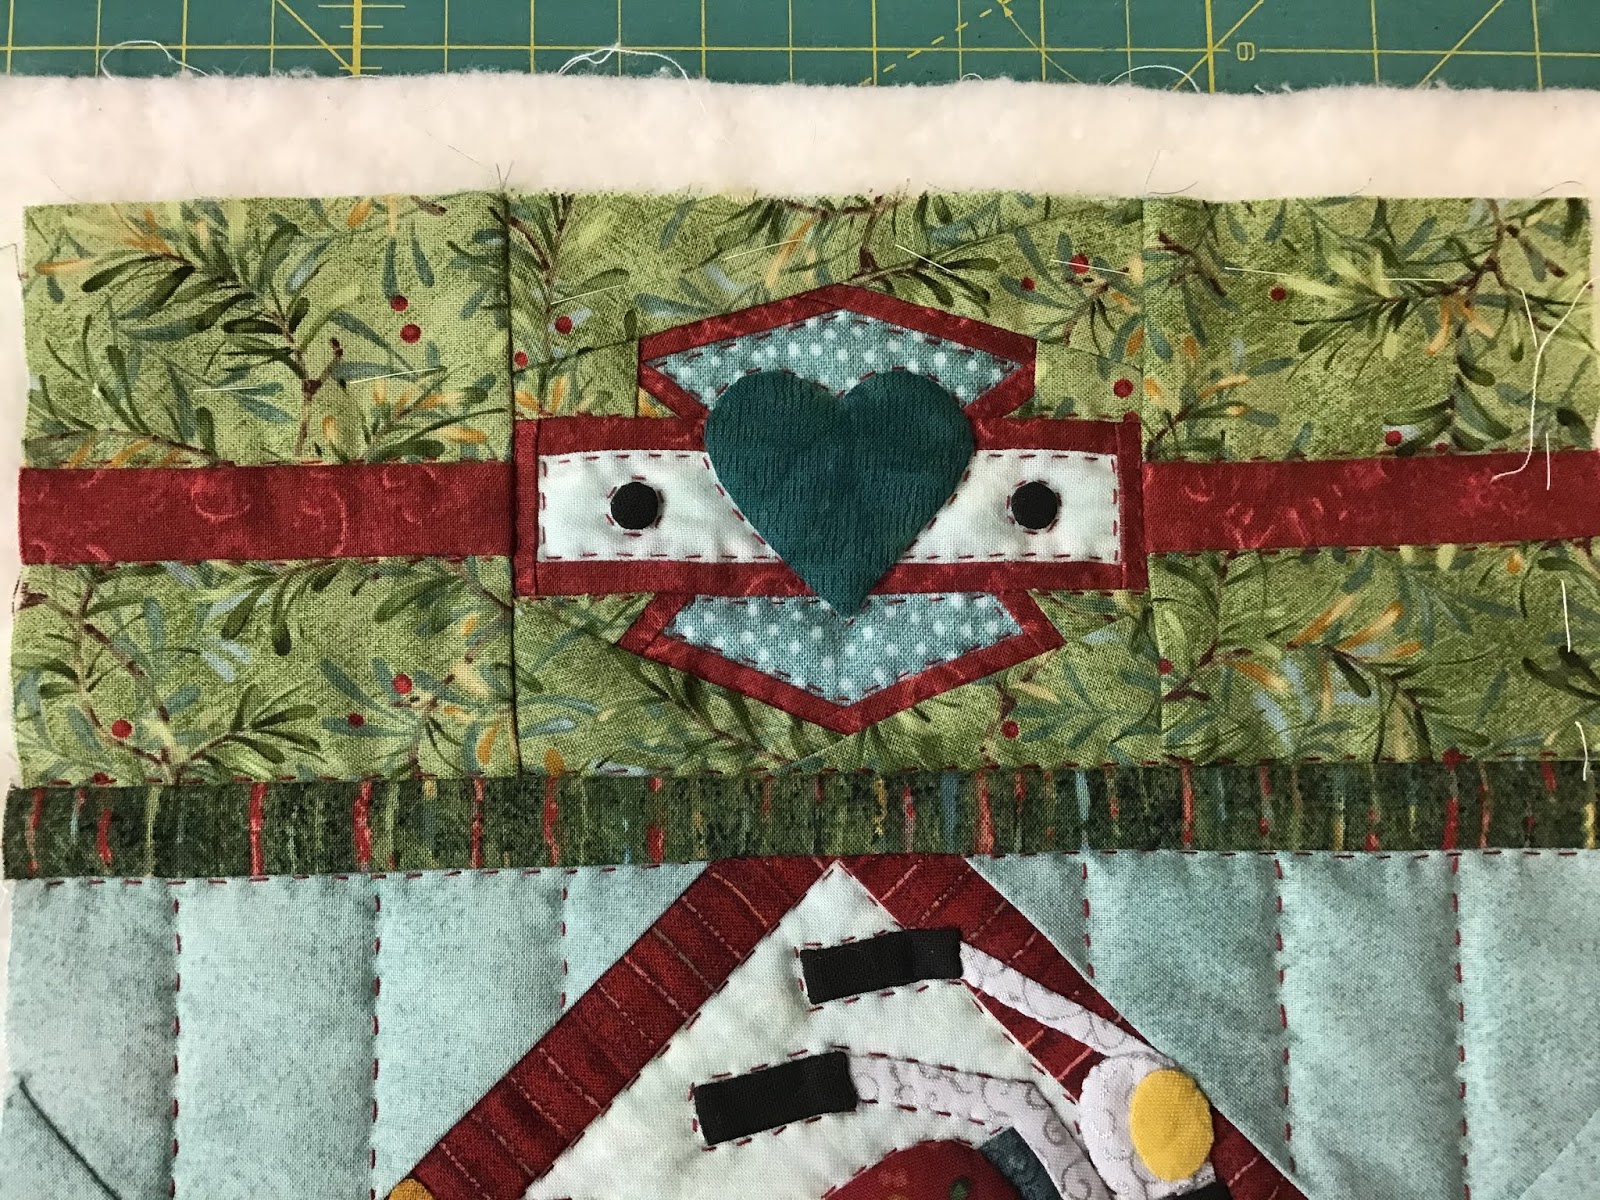
A look at the finished mask without my head in the way.
I have very little elastic in my stash so I was happy to hear the ties are more comfortable than elastic around the ears. The style of mask I made can be converted to the elastic option that loops behind ears...if you have any of the precious elastic.
I also just happen to have about 2 yards of lightweight fusible interfacing in my stash...good thing I never got around to making all those cute tops in rayon batik!
But most importantly...the preferred fabric...BATIK...is in abundance in my studio. See...it really was a great idea to buy the closeout sale yardage and make the trip to Bali for batik that was selling for $2.00 a yard.
Okay...lets get started!
I made two copies of the pattern I was using...one to cut out for the front and back fabrics. The second pattern copy I trimmed off the seam allowance and used it to cut out the interfacing pieces. If you have interfacing in your stash you realize why I did that.
What if you don't have any interfacing? I don't have a great answer for that...just make it without it. I don't know that the interfacing does much more than add a little more shape to the mask. (In other words...the interfacing doesn't stop the Corona virus.
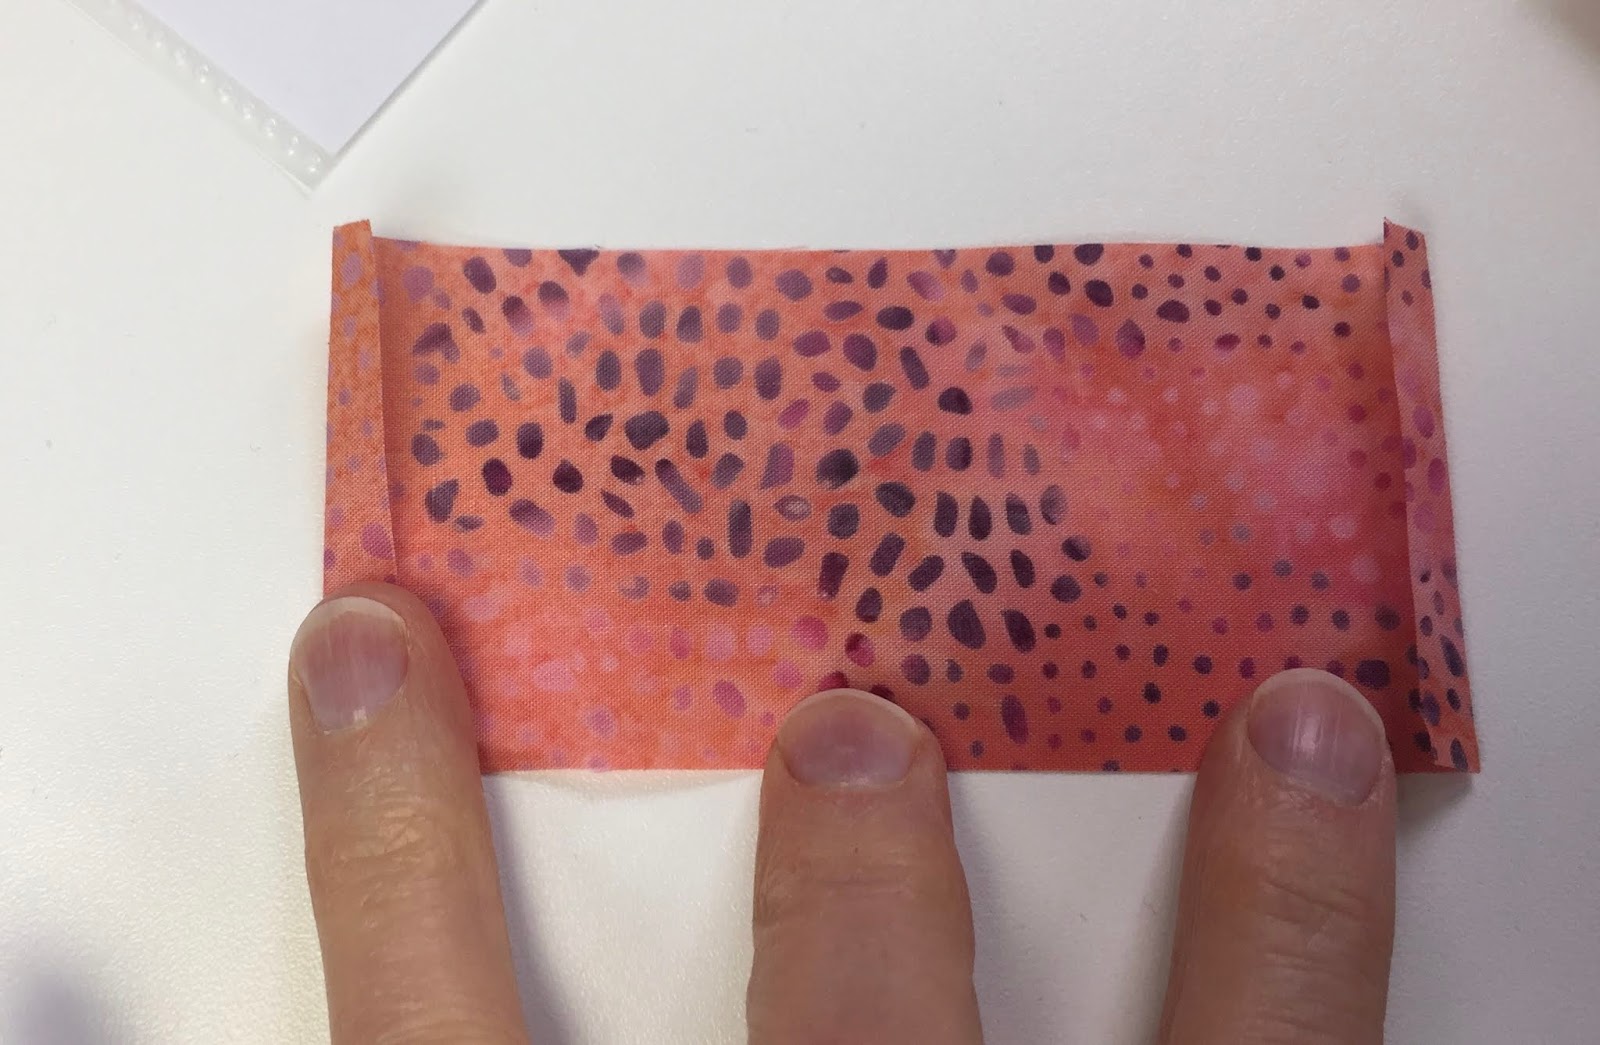
The mottled dark pink is my interior fabric. Because of the mask's curved shape I took the advice from one of the videos to sew a 3/8-inch seam on the outside curve for the interior piece while the outside piece and all other seams are 1/4-inch. This larger seam on the interior piece will alleviate bulk as the fabric curves to the inside. Below I stitched the original 1/4-inch seam and then did a second stitch 1/8-inch deeper on the dark pink interior pieces.
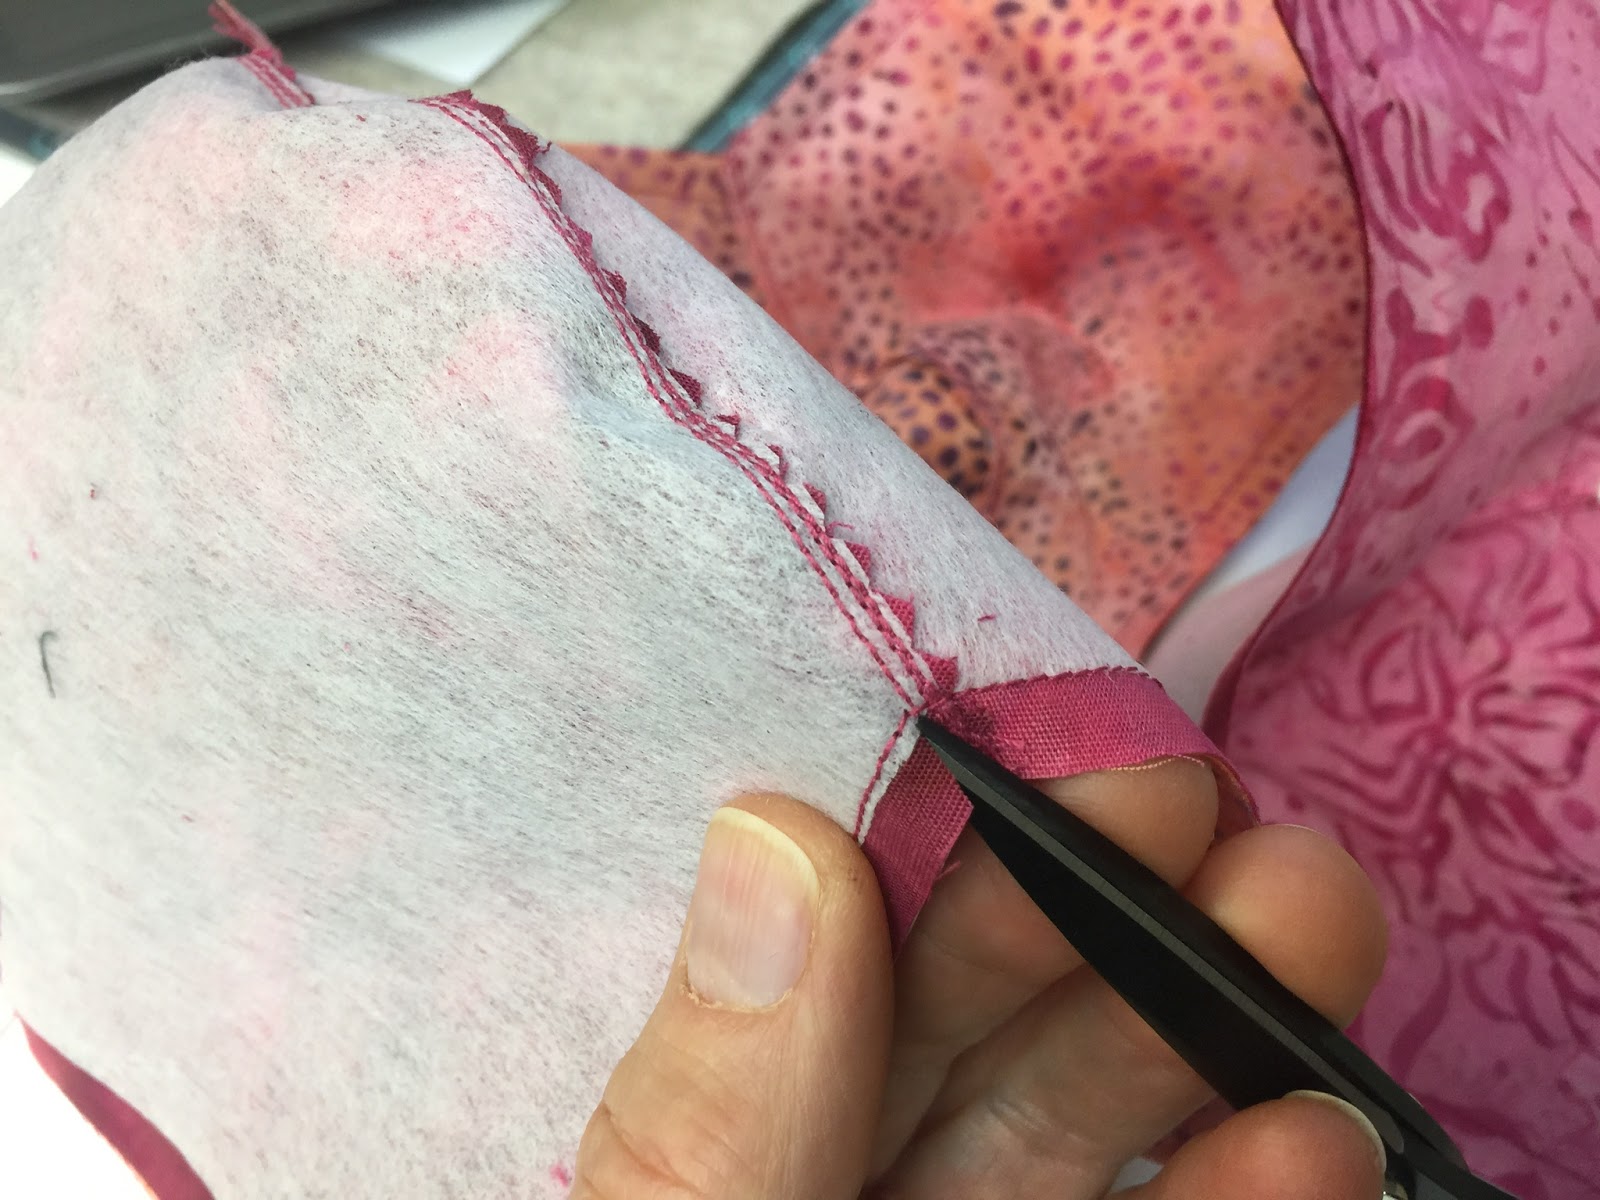
You need to clip curved seams or use pinking shears. Pinking shears are definitely quicker.
From the front side, I finger pressed the seam to the left side and top stitched very slowly, easing the curve of the seam. Note-the seams should oppose each other when you go to stitch the front and interior sections at the top and bottom.
Below are the front and interior sections with the lovely top stitching along the curved seam.
Next you sew along the top and bottom edges, right sides together. Side seams are not stitched as the right sides of the mask will be pulled out through one of the sides.
I used my pinking shears again along the top curved seam but only did a single clip from the edge to the seam, one layer of fabric at a time at the apex of the bottom edge. When the mask is pulled right side out there is a sharp angle and this clip allows the fabric more give to lye flat.
And here is the first magic...pull the rights sides out through one side of the mask.
I used this handy wooden pressing stick to get a smooth edge to press along the top and bottom seam.
Next, I top stitched along the top and bottom edges. On the top curve I ran into a little seam clump that my feed dogs had trouble with since I was stitching so close to the edge. A simple fix is to add a folded piece of scrap fabric right behind you last stitch...needle down, lift up the presser foot and slip the scrap fabric piece right behind your last stitch. Put the presser foot down and start stitching again...should work smoothly with no hesitation.
Stitching right off the bulky seam...
Then I added a casing about 3/8-inched wide from the edge stitching for a wire to press around the nose.
For the women's size the casing measured 1 3/4-inches on each side of the center seam.
Men's size I did 2 1/4-inches on each side of the center seam.
I used floral wire to make my nose shaping aid. It is 22 gage.
For the women's mask I cut a piece 5-inches long and turned at the 1/2-inch point from each end.
The men's is 6-inches with the same 1/2-inch turn on each end.
The wire needs to be inserted at this point and centered in the casing. I find this little piece of wire really aids in fitting the mask securely to your face. There were several other suggestions for wires in the videos I mentioned at the top of the post.
Check out Part 2 for the side casing construction.